Konafa


I didn’t know the deliciousness of Egyptian desserts until I met my husband. Yes, I’d had baklava numerous times but that was as far as my taste of Middle Eastern/African desserts went. From the first time I met my mother in law, there were two desserts that to this day she always welcomes you with: Konafa and Basbousa. As you can imagine, you can’t have just one, you have to have both, and multiple times. Her Konafa is perfect each time and in every bite. The cream filling always tastes warm and fluffy even on the third day. This also happens to be my husband’s favorite dessert. The pressure was definitely on!
It seems that there are as many recipes as there are spellings of the word Konafa. Picking the right one was not easy. Luckily I had my MIL’s recipe plus one from Cleobuttera (same site I that I used for the baklava I made). I do want to mention that I did not use some of the flavors that are written in the original recipe as we did not have it on hand (check out the Cleobuttera’s site for those ingredients).
Ingredients for the syrup
2 cups (400g) granulated sugar
1 cup (237ml) water
Squeeze of lemon
Ingredients for the filling:
1 1/2 cup (355ml) whole milk
1 1/2 cup (355ml) heavy whipping cream*
3 tablespoons (38g) granulated sugar
5 tablespoons (35g) cornstarch
Ingredients for the crust:
1 lb/ 500g konafa (kataifi/kadayef dough), fresh or frozen. If using fresh, freeze for an hour for easier cutting. If using frozen, thaw slightly*
1 cup (227g) melted ghee
Directions:
Syrup
In a medium saucepan, combine together the sugar, water and squeeze of lemon juice. Set on the stove top over medium high heat. Try to avoid stirring it as it heats to prevent crystallization from happening, but if the sugar is not dissolving, then help it out with a few stirs. Once it comes to a boil, STOP stirring.
Bring to a boil, then immediately reduce the heat to low and let it simmer for no longer than 10 minutes. Set a timer! The syrup will thicken slightly, and have a consistency similar to hot pancake syrup. If it simmers for longer it could thicken too much and become candy-like and not pourable. Stir in the orange blossom and rose water, if using.
Transfer to a medium bowl or gravy boat and allow to cool to room temperature before using.
Cream Filling
In a small saucepan, off the heat, whisk together the milk, cream, sugar and cornstarch until well combined and the cornstarch has dissolved completely without any visible lumps.
Set the saucepan over medium high heat and bring to a full boil, whisking constantly. Continue to boil for about one minute until the mixture thickens and large bubbles form around the surface.
Remove the saucepan from the heat and whisk in the ground mastic, orange blossom and rose water, if using.
Set the cream-filling aside to cool slightly as you prepare the konafa crust.
Konafa Crust
Adjust the oven rack to lower-middle position and preheat the oven to 200C/390F. Heavily grease with ghee or butter a 28cm/11-inch cake pan. Set aside.
Over a large bowl, shred the konafa/kataifi dough into 1inch/ 2.5cm long pieces. I've found that cutting the konafa while semi-frozen, makes for the easiest way to break it. So even if using fresh kunafa, stick it in the freezer for about an hour before cutting it.
Pour the melted ghee (or clarified butter) over the konafa. Rub the ghee (or clarified butter) with you hands, into the konafa shreds, making sure they're well coated and every strand is glistening.
Transfer two-thirds the amount of konafa in the prepared pan and firmly press it on the bottom and up the sides. Make a wall with the konafa around the sides of the pan; this will help contain the cream filling during the baking process and prevent it from burning. Pack the konafa as tightly as possible. Use the bottom of a drinking or measuring cup, to help pack it tightly and smooth out the konafa.
Pour the cream filling into the konafa crust. I like to strain it in through a sieve to smooth out any skin or lumps that might have developed as it was cooling down. Spread the filling with a spatula or the back of a spoon into an even layer.
Scatter on the remaining third of the konafa over the cream filling, lightly press it on to adhere. At this point, you can cover the konafa and refrigerate until you're ready to bake; up to 24 hours or bake right away.
When ready to bake, transfer the pan to the oven and bake for 35 to 45 minutes, or until the top and sides of the konafa are deep golden brown in color, and has pulled away from the sides of the pan. Use a knife to push the side of the konafa, to check the color. The longer it bakes, the crunchier it will be. So bake it for less time if you prefer a softer crust.
Remove the konafa from the oven and immediately pour on the room temperature syrup, starting from the edge and moving towards the center, in a circular motion, making sure to cover the entire surface. Reserve about a 1/4 cup of the syrup.
Let the konafa rest for 10 minutes to allow for the syrup to soak in, then flip on to a serving platter. Use the reserved syrup to drizzle over any dry spots on the surface of the konafa.
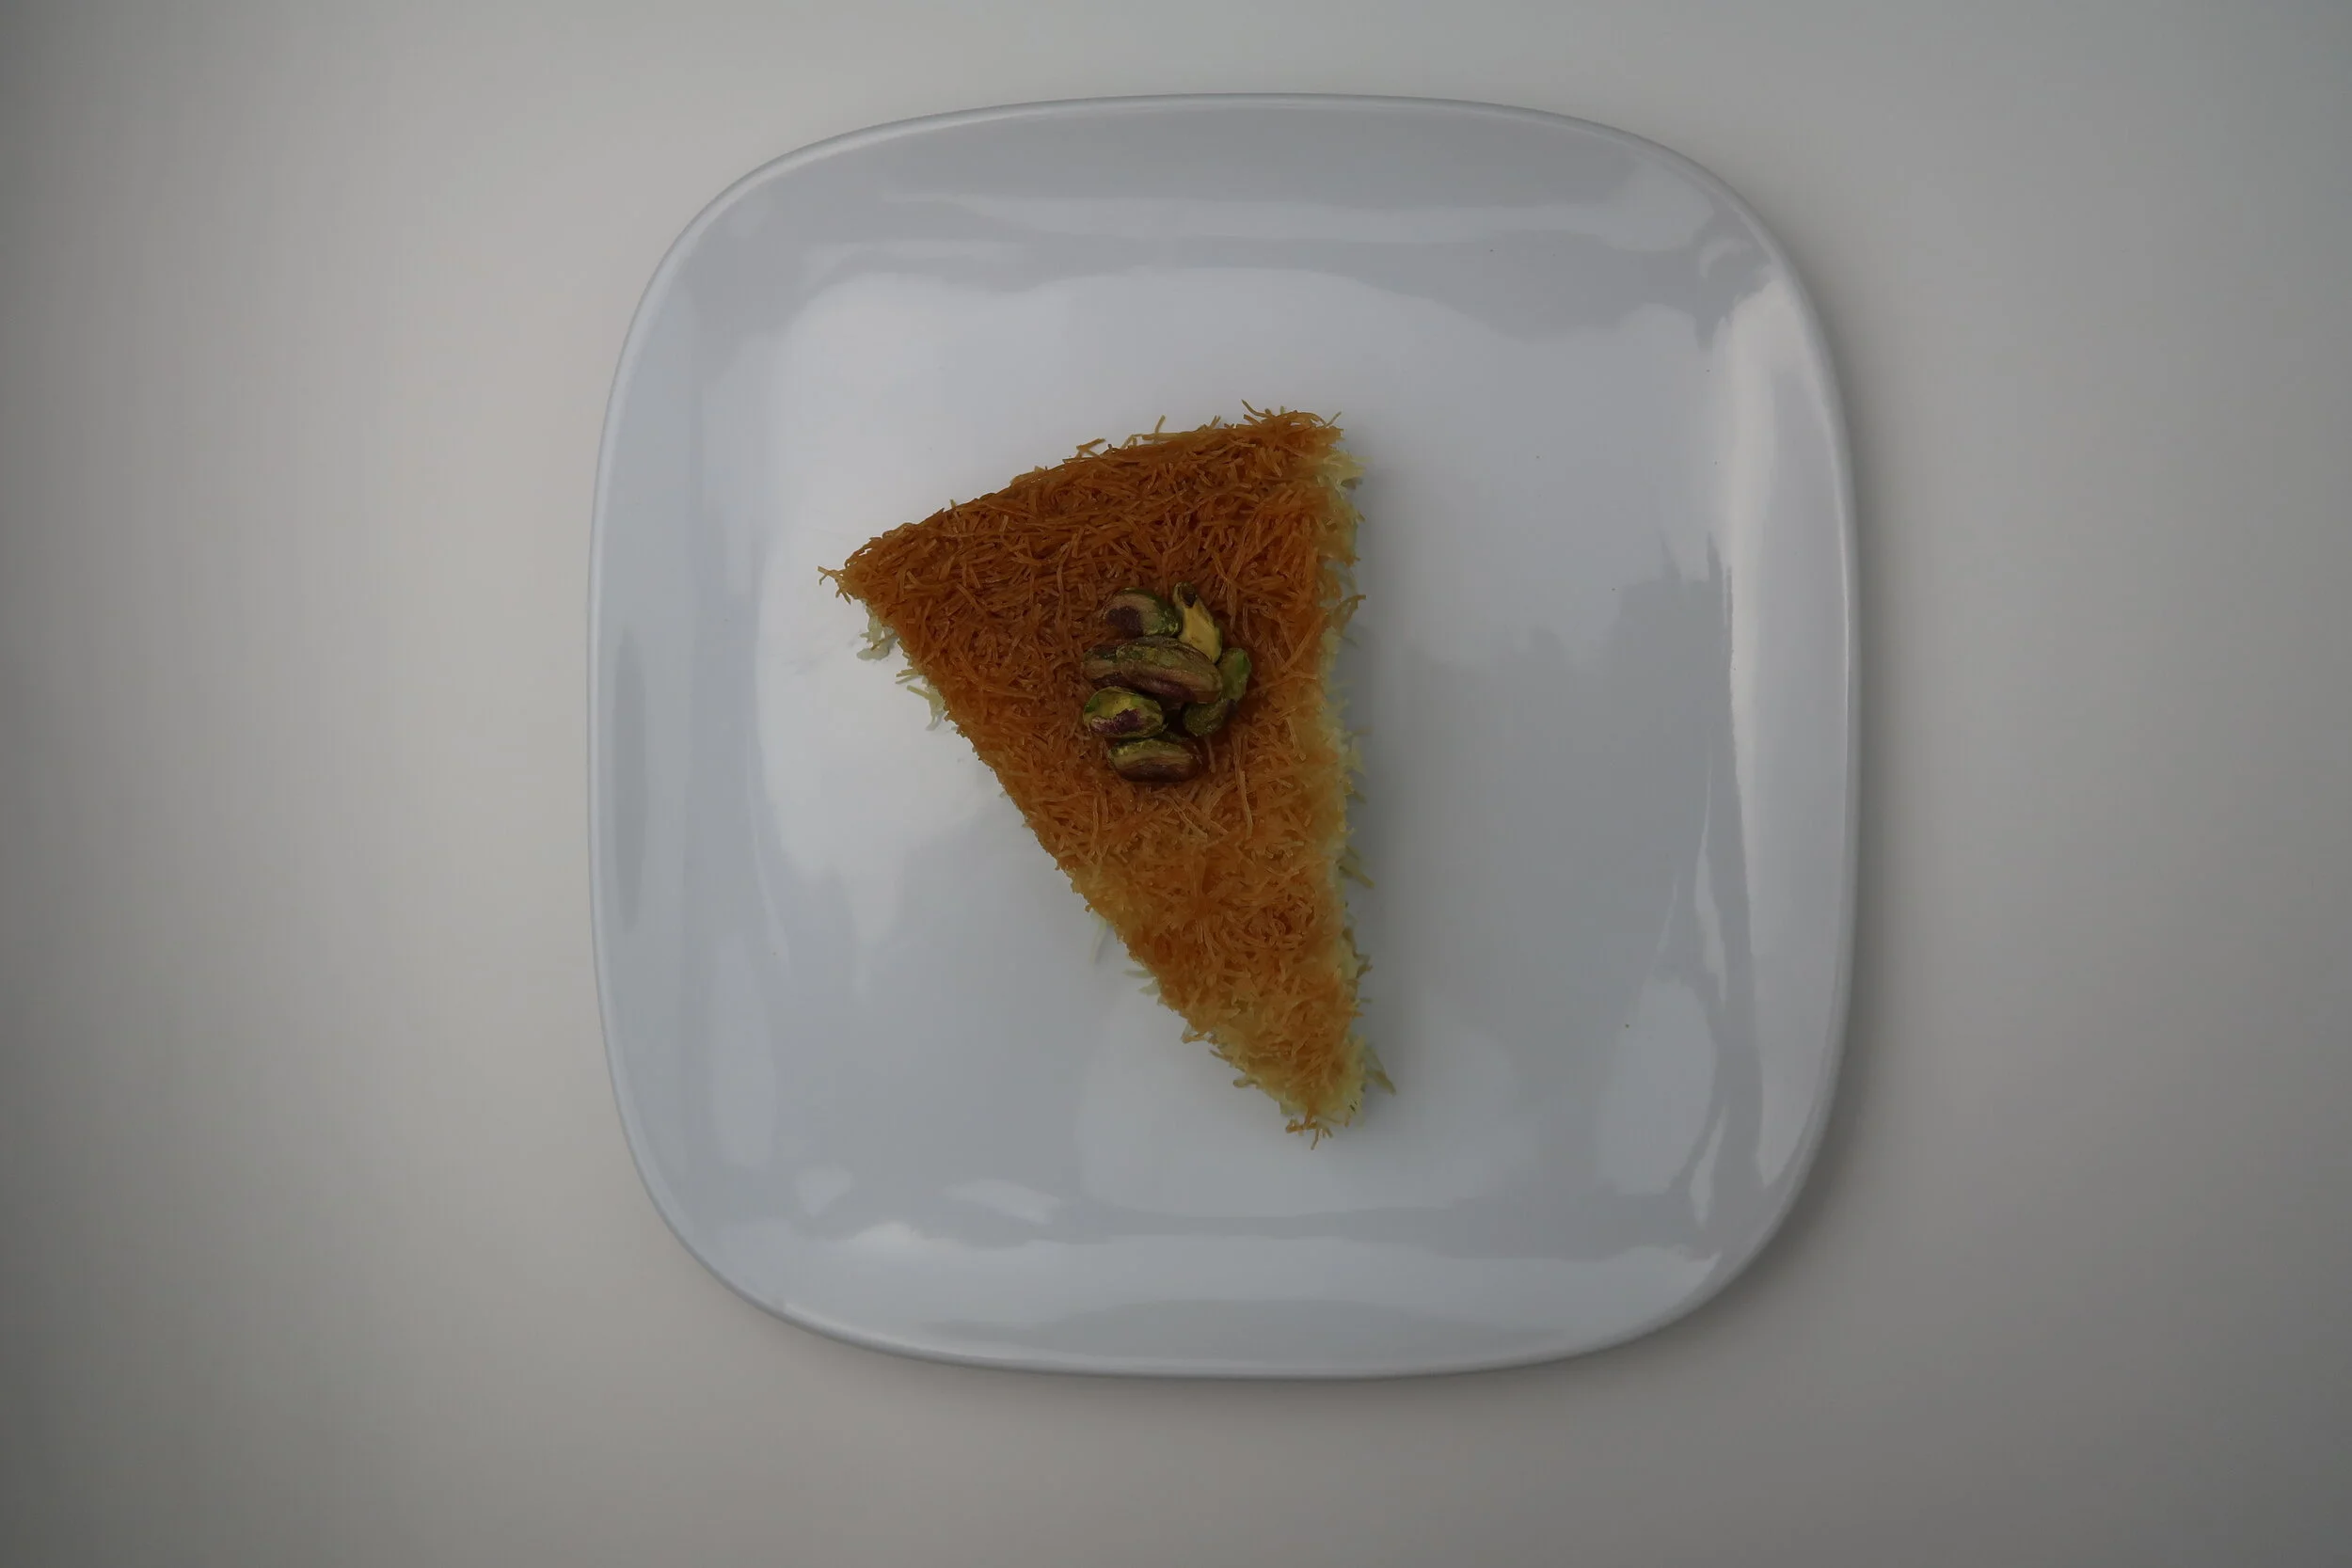
Cut into wedges and serve right away or while it's still warm.
We allowed for 30 minutes to pass before eating to ensure the cream was more solid than gooey.